
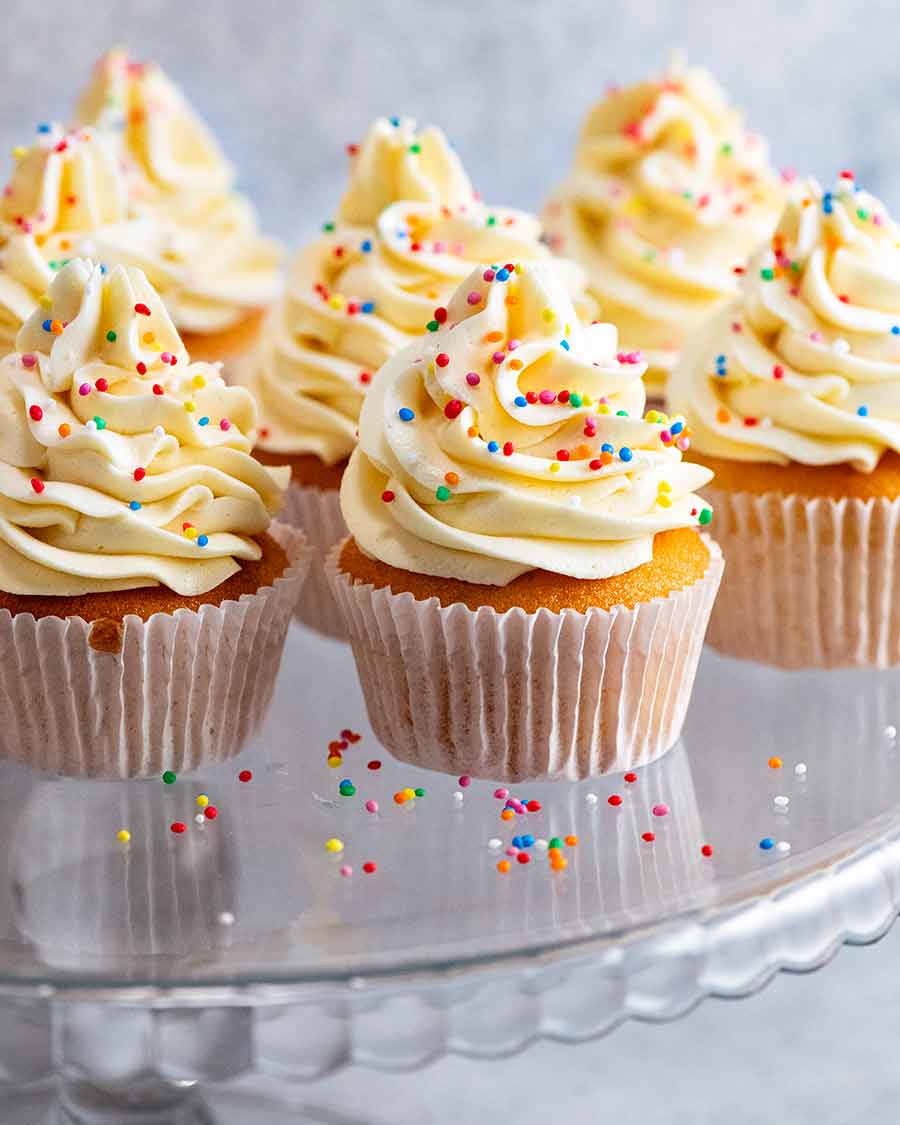
Vanilla Cupcakes
Written by Sneh Chaudhry on November 21, 2023
Ingredients
- 1 cup plain/all-purpose flour
- 1 1/4 tsp baking powder (NOT baking soda
- 1/8 tsp salt
- 2 large eggs (50 – 55g / 2 oz each), at room temp
- 3/4 cup caster / superfine sugar (granulated/regular ok too,
- 60g / 1/4 cup unsalted butter, cut into 1.5cm / 1/2” cubes
- 1/2 cup milk, full fat
- 2 tsp vanilla extract, the best you can afford
- 1 1/2 tsp vegetable or canola oil
Instructions
-
Preheat oven to 180°C/350°F (160°C fan) for 20 minutes before starting the batter (Note 8). Place the shelf in the middle of the oven.
-
Place cupcake liners in a standard muffin tin. (Note 9)
CUPCAKE BATTER:
-
Whisk Dry: Whisk flour, baking powder and salt in a large bowl. Set aside.
-
Heat Milk-Butter: Place butter and milk in a heatproof jug and microwave for 2 minutes on high to melt butter. Do not let milk bubble and boil (foam ok). Cover and leave in the microwave to keep very warm (stove: cover with the lid and leave on turned off stove). (Note 10)
-
Mix eggs: In a separate, preferably heavy-based glass bowl, beat eggs for 30 seconds on speed 6 of a handheld beater.
-
Add sugar: With the beater still going, pour the sugar in over 30 seconds.
-
Beat until tripled: Beat eggs for 6 minutes on speed 8, or until tripled in volume and almost pure white.
-
Add flour: When the egg is whipped, scatter 1/3 flour across the surface, then beat on Speed 1 for 5 seconds. Stop beating, add half the remaining flour, then mix on Speed 1 for 5 sec. Add remaining flour, then mix on Speed 1 for 5 – 10 sec until the flour is just mixed in. Once you can’t see flour, stop straight away.
-
Temper milk: Pour hot milk, vanilla and oil into the now-empty flour bowl. Add about 3/4 cup of the Egg Batter into the hot milk (don’t need to be 100% accurate with the amount). Use a whisk to mix until smooth – you can be vigorous here. Will look foamy.
-
Slowly add milk: With the beater on Speed 1, pour the Milk mixture into the Egg Batter over 15 seconds, then turn the beater off.
-
Scrape and final mix: Scrape down the sides and base of the bowl. Beat on Speed 1 for 10 seconds – the batter should now be smooth and pourable.
BAKE:
-
Fill muffin tin: Pour batter into muffin tin, filling 2/3 of the way up. Do not fill more (causes flat/sunken surfaces). Easiest to use a standard ice cream scoop with a lever.
-
Bake for 22 minutes or until golden and the toothpick inserted into the middle comes out clean.
COOL & FROST:
-
Remove from oven. Cool for just 2 minutes then use a fork to help remove and place on a cooling rack. Cool completely before icing with a frosting of choice (Note 11 for ideas), or cream and fresh berries or jam.
Recipe Notes:
To ensure success:
-
read the recipe from start to finish before starting;
-
make sure your baking powder is not past its expiry (see Note 2);
-
work in order of steps per recipe; and
-
once you start, keep going until it’s in the oven. Do not at any point leave batter sitting around – bubbles will subside!
RECIPE NOTES
1. Cake flour works just fine with this recipe, but butter and vanilla flavour and crumb is ever so slightly better using plain / all-purpose flour. Also, cake flour makes the cake surface more tacky the next day.
2. Baking powder – dead baking powder is a common problem with cake fails. To ensure yours is good, even if not past expiry, place 1/2 tsp in a bowl and add 1/4 cup boiling water. If it bubbles, it’s good. If not, it’s dead – chuck it!
Baking soda (bi-carb) won’t make the cake rise quite as well. If you have no choice, then use 3/4 teaspoons of baking soda.
3. Eggs – important to be at room temp as they fluff better when whipped which is key to the fluffy texture of these cupcakes. A quick way to warm up fridge cold eggs – place in a large bowl, cover with warm tap water (just warm, not hot), and leave for 5 minutes. Wipe dry (to avoid residual water dripping into the bowl), then use per recipe.
Large eggs – 50 – 55g / 2 oz per egg this is the industry standard of egg sizes sold as “large eggs” in Australia and the US. If your eggs are significantly larger or smaller in size, just weigh your eggs and use 100 – 110g / 4 oz in total (including shell) or 90 – 100 / 3.53 oz in total excluding shell (crack eggs, whisk THEN pour into a bowl to measure out what you need).
4. Caster / superfine sugar has finer grains than regular/granulated sugar so it dissolves easier when whipped with the eggs. Granulated/regular sugar sometimes doesn’t fully dissolve which doesn’t affect the rise or texture but can leave some very fine brown sugar specks on the surface/sides. Not a big deal – just visual if serving undecorated. (But who serves cupcakes naked??)
Do not reduce sugar – 3/4 cup is the minimum required for the eggs to whip into a stiff enough foam to make cupcakes rise sufficiently.
5. Milk – if you sub with lower-fat milk then the texture of the crumb becomes a little less tender. Do not substitute with non-dairy milk, such as soy or almond milk.
6. Vanilla comes in all sorts of qualities. I use Vanilla Extract. Better quality (more expensive) = better flavour, but I think vanilla bean paste is wasted in cakes.
7. Oil – just 1 1/2 teaspoons makes a noticeable difference to the moistness on the day it’s made and most especially 4 days later.
8. Oven preheating – 30 minutes preheat is recommended to ensure no loss of heat when the oven door is opened. Never use the rapid heat function on your oven for baking, no matter how fancy your oven is!
9. Muffin tin and cupcake liners – use cupcake liners that sit about 4mm / 1/6″ above the rim of standard muffin tin holes (1/3 cup holes). This is the perfect size to use 1/4 cup standard ice cream scoops to fill with batter and make perfect size cupcakes.
The recipe will also work for larger and mini cupcakes but you’ll need to adjust the bake time.
10. Milk must be hot / very warm when mixed with batter. So heat it up just before starting the batter. Don’t do this way ahead and let the milk cool (this affects rise).
11. Frostings – see the full list of ideas in the post and links to recipes! Pictured in the post with the following:
– my Secret Less-Sweet Fluffy Vanilla Frosting;
– Vanilla Buttercream (in my Vanilla Cake recipe) – makes enough for 12 x tall swirls (pictured in post) or 24 knife-smeared (3rd photo in post)
– Chocolate and Vanilla Swiss Meringue Buttercream (coming soon!)
12. Sweetness note – these cupcakes are sweeter than Asian cakes, and less sweet than typical Western cupcakes (usually 1 cup sugar for 12 cupcakes).
Please do not reduce sugar – 3/4 cups is the minimum required to make the eggs foamy enough to rise.
13. Different measures in different countries – tablespoon and cup sizes differ slightly from country to country. In most recipes, the difference is not enough to affect the outcome of the recipe, but for baking recipes, you do need to be careful.
These cupcakes have been specifically tested using both US and Australian cups (the two countries with the greatest size variance) and they came out exactly the same. So you can have confidence that this recipe can be used no matter which country you are in – the only exception is Japan (cup sizes are considerably smaller (200ml) so please use weights provided).
14. Storage – because cupcakes are small, they will dry out faster than cakes if left out. So be sure to put unfrosted cupcakes into an airtight container as soon as they are fully cool.
-
The best way to store – an airtight container in the pantry, not a fridge. Will stay nearly perfectly fresh for 4 days;
-
If extremely hot where you are, they will need to be refrigerated. This does dry them out a touch, but they are still excellent. Take out 30 minutes before serving to bring to room temperate before serving;
-
Frosted cupcakes must be stored according to the storage directions of the frosting – most will require refrigeration above a certain temperature or if kept for a prolonged period of time;
-
Freezer – place parchment paper on the surface, then wrap in cling wrap and put it in an airtight container, or place it in a ziplock bag. Freeze for up to 3 months. Thaw overnight in the fridge, bring to room temperature before serving.
Source: recipetineats.com
Reader's opinions
You may also like


Continue reading